Create a Project
At this point you should have your local development stack set up, and know how to run console commands. Now it’s time to install Craft.
#Project Folder
The first step is to create a folder named tutorial for us to work in. If you have a place you normally keep development projects, create it alongside those—if not, your desktop or home folder is fine, for now!
In your terminal, run the following commands to create and move into your project folder:
cd /path/to/dev/folder
mkdir tutorial
cd tutorial
#Setup
Run the following commands to configure a new DDEV project in that folder:
Create DDEV configuration files:
ddev config --project-type=craftcms --docroot=webScaffold the project from the official starter project:
ddev composer create -y "craftcms/craft"The setup wizard will start automatically. Answer the prompts, leaving
Site URLset to the default value (https://tutorial.ddev.site)—unless you chose something other thantutorialwhen creating your project folder.Remember the username and password you choose for your user account! We’ll need those in a moment.
Once the last command has finished, Craft is fully installed! To open your installation in a web browser, run:
ddev launch
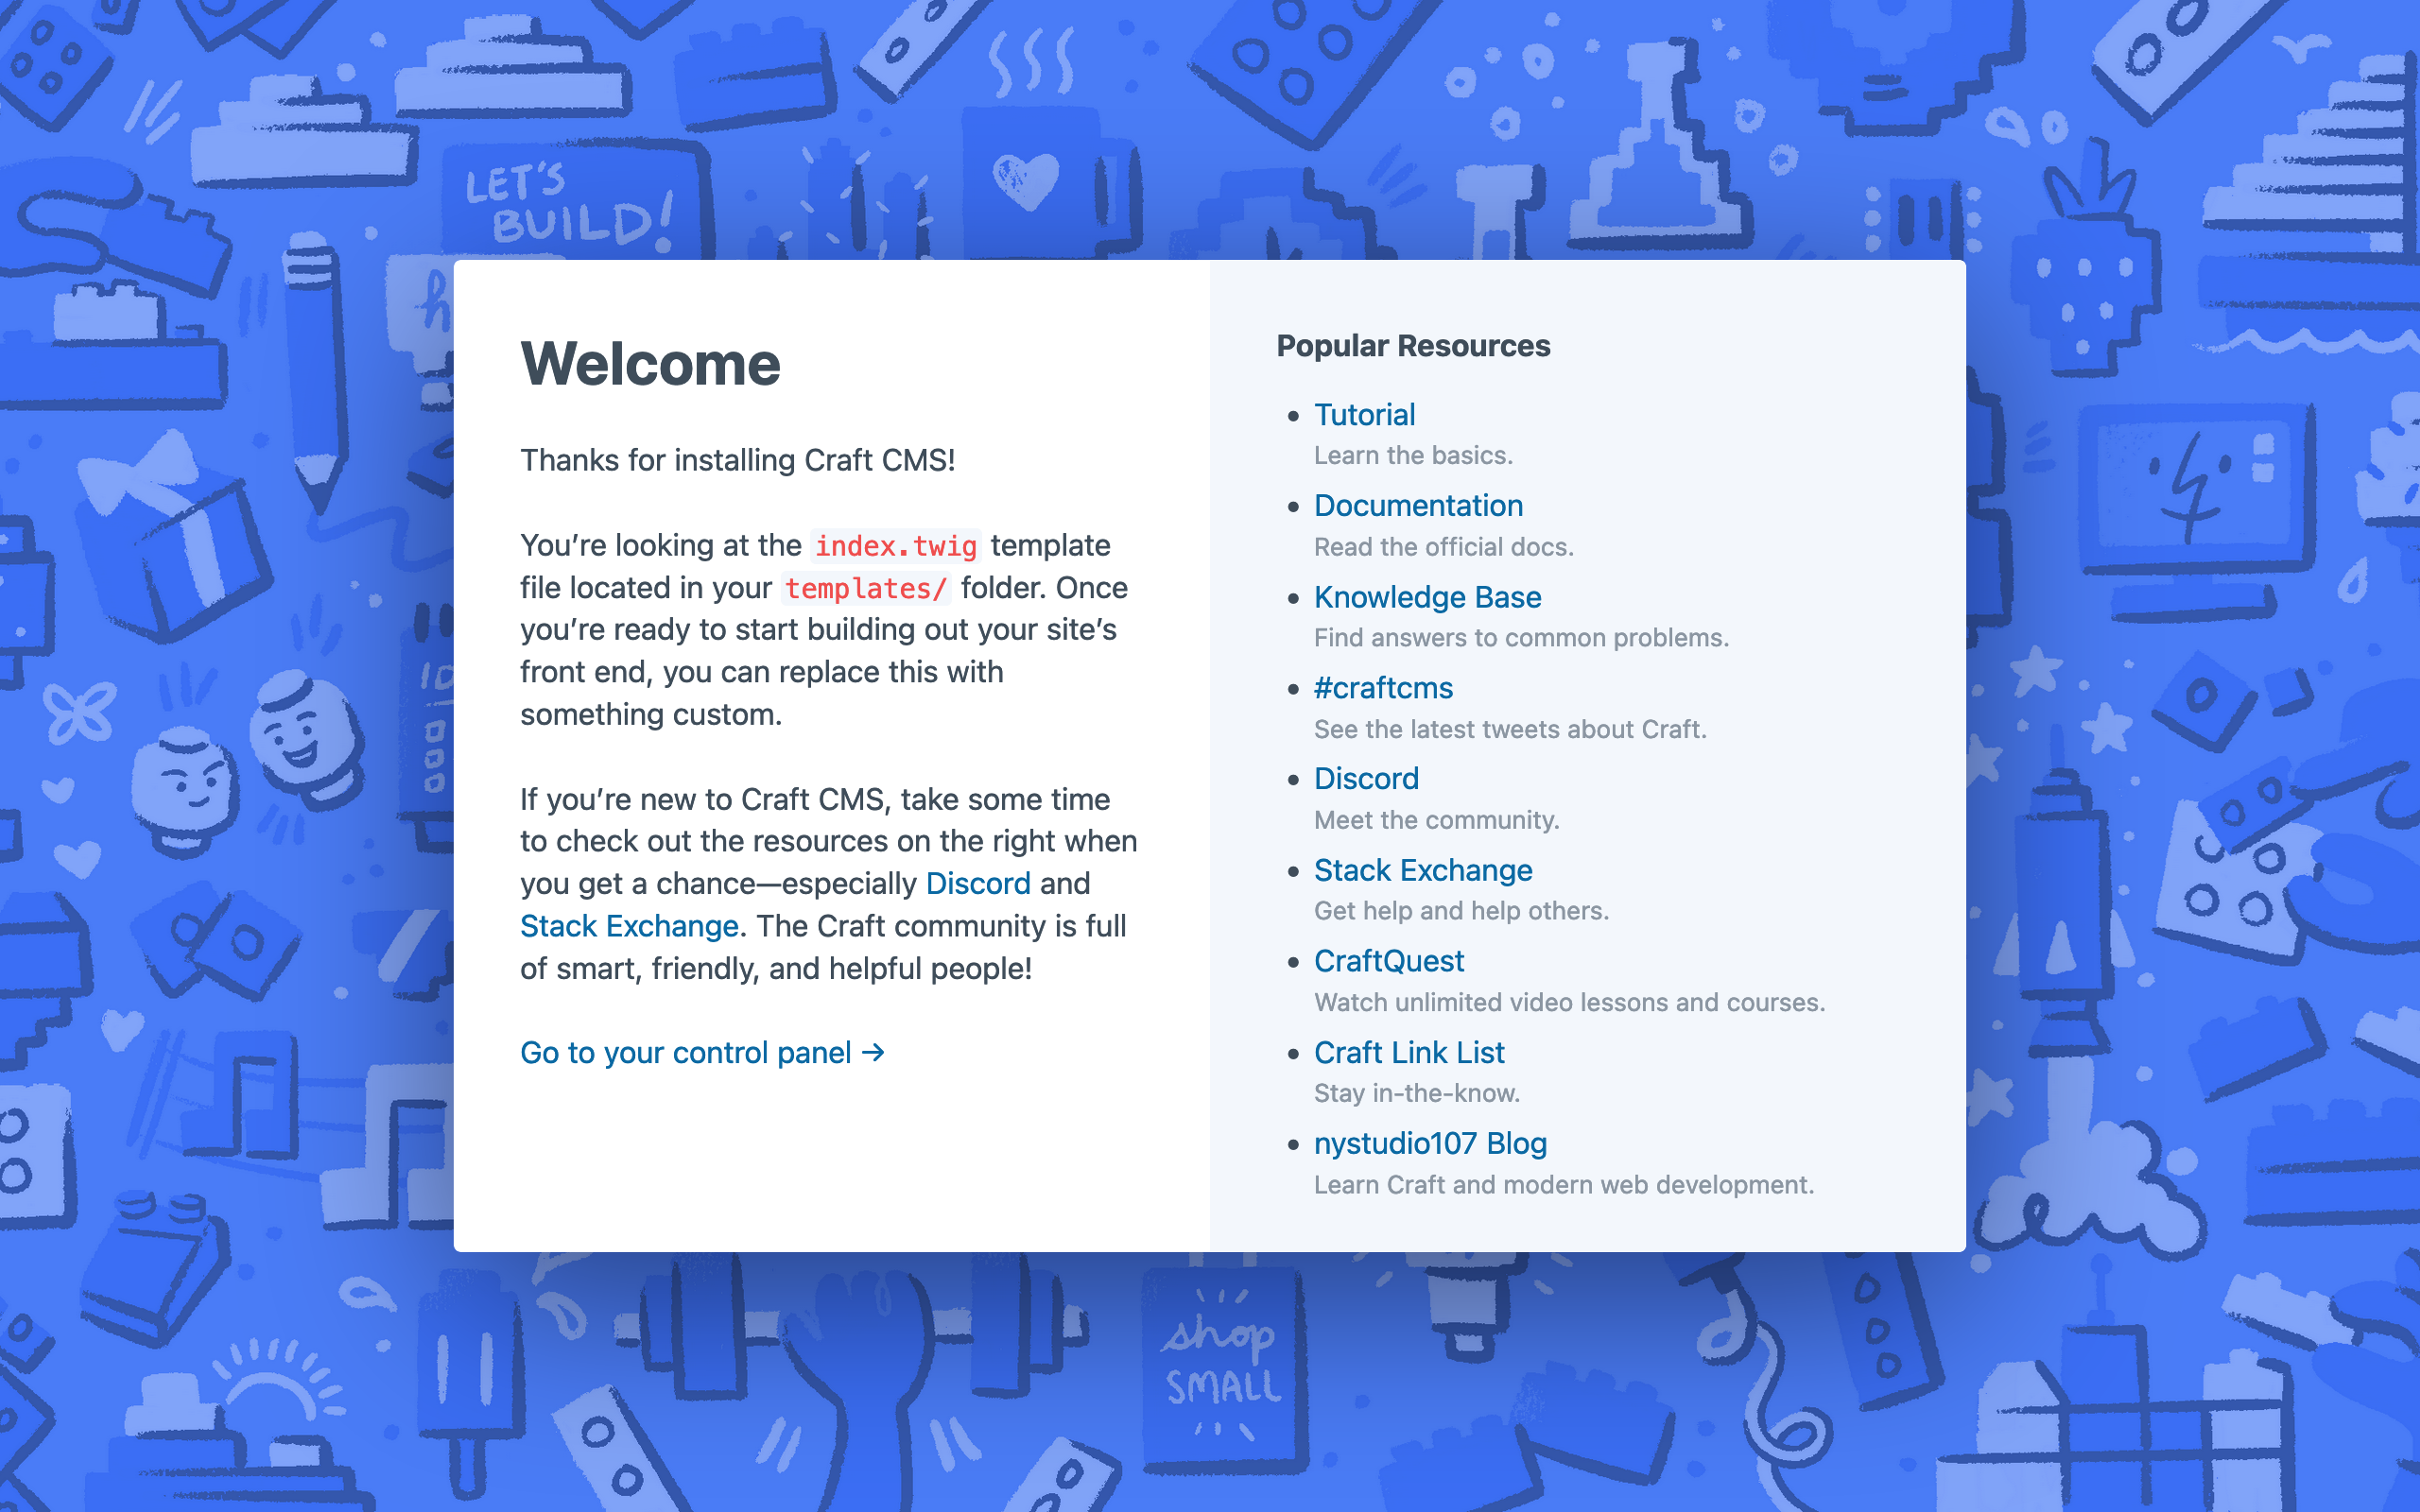
You should see Craft’s default welcome template:
Now, let’s take a look at the contents of your newly-populated project folder.